Homemade Reese’s Cups Classic
Highlighted under: Sweet Kitchen Classics
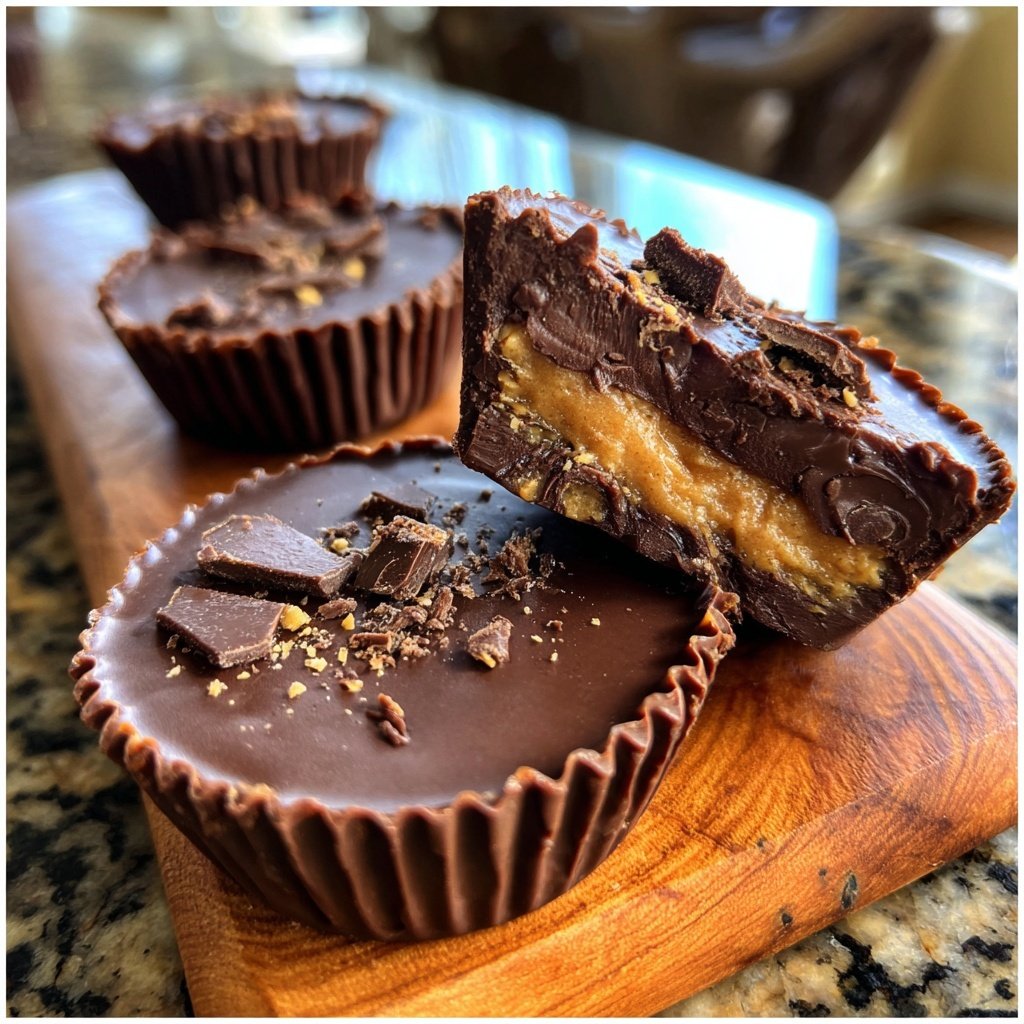
I love making my own Reese's Cups at home because they bring back so many delicious memories. Each bite offers the perfect harmony of creamy peanut butter and rich chocolate that I've always adored. It’s surprisingly simple to recreate this classic treat, and the taste is just as satisfying as the store-bought version but even better because I can control the sweetness. Want to impress your family or friends? This recipe not only fulfills a sweet tooth but also serves as a lovely homemade gift for any occasion.
When I set out to make my own Reese’s Cups, I wanted to capture that nostalgic flavor while making it my own. I experimented with the peanut butter filling and discovered that using a mix of creamy and crunchy peanut butter added a delightful texture. The recipe evolved until I found the perfect balance of sweetness and nutty flavor!
One tip I learned along the way is to allow the chocolate to cool slightly before pouring it over the filling. This way, the two layers set nicely without mixing and create that signature Reese's look. Trust me, this little detail makes a world of difference!
Why You'll Love This Recipe
- Rich chocolate flavor paired with fresh peanut butter
- Creamy texture that melts in your mouth
- Perfect for celebrations or as a sweet indulgence
Understanding Ingredients
Each component in this recipe plays a crucial role in achieving the perfect Reese's Cup. For example, creamy peanut butter provides richness and flavor, while powdered sugar helps balance the saltiness of the peanut butter, creating a less gritty and more luxurious filling. Opting for natural peanut butter without added sugars or oils can yield a more authentic taste, though it may result in a slightly different texture. If you're looking for a healthier alternative, consider using almond or cashew butter; keep in mind these will alter the flavor profile slightly.
The type of chocolate you choose significantly impacts your final product. Milk chocolate chips are traditional, but you can experiment with dark chocolate for a more decadent treat or even white chocolate for a unique twist. When melting the chocolate, ensure you use a microwave-safe bowl and stir thoroughly to avoid scorching. You can also temper your chocolate for a shinier finish, which adds a professional touch and improves the overall presentation.
Perfecting the Process
Assembling the cups requires a bit of technique to ensure that each layer adheres properly without leaking. When pouring the melted chocolate, I recommend using a spoon to carefully control the amount and avoid an overflow. If the chocolate starts to thicken as you work, microwave it briefly to regain a pourable consistency. Also, chilling the chocolate between steps not only helps it to set quickly but ensures that your layers create that classic Reese's texture when you take a bite.
If you find that your chocolate isn’t setting well or is too soft, a common issue is excess moisture. Make sure the bowl and utensils you use are completely dry, as water can cause chocolate to seize. If you prefer a firmer cup, you can slightly increase the chocolate-to-coconut oil ratio for a sturdier final product. Lastly, storing the finished cups in an airtight container at room temperature will keep them at their best for about a week but refrigerating them can extend their shelf life.
Ingredients
Gather these simple ingredients to create your own Reese's Cups!
Ingredients for Homemade Reese's Cups
- 1 cup creamy peanut butter
- 1/2 cup powdered sugar
- 2 cups milk chocolate chips
- 1 tablespoon coconut oil
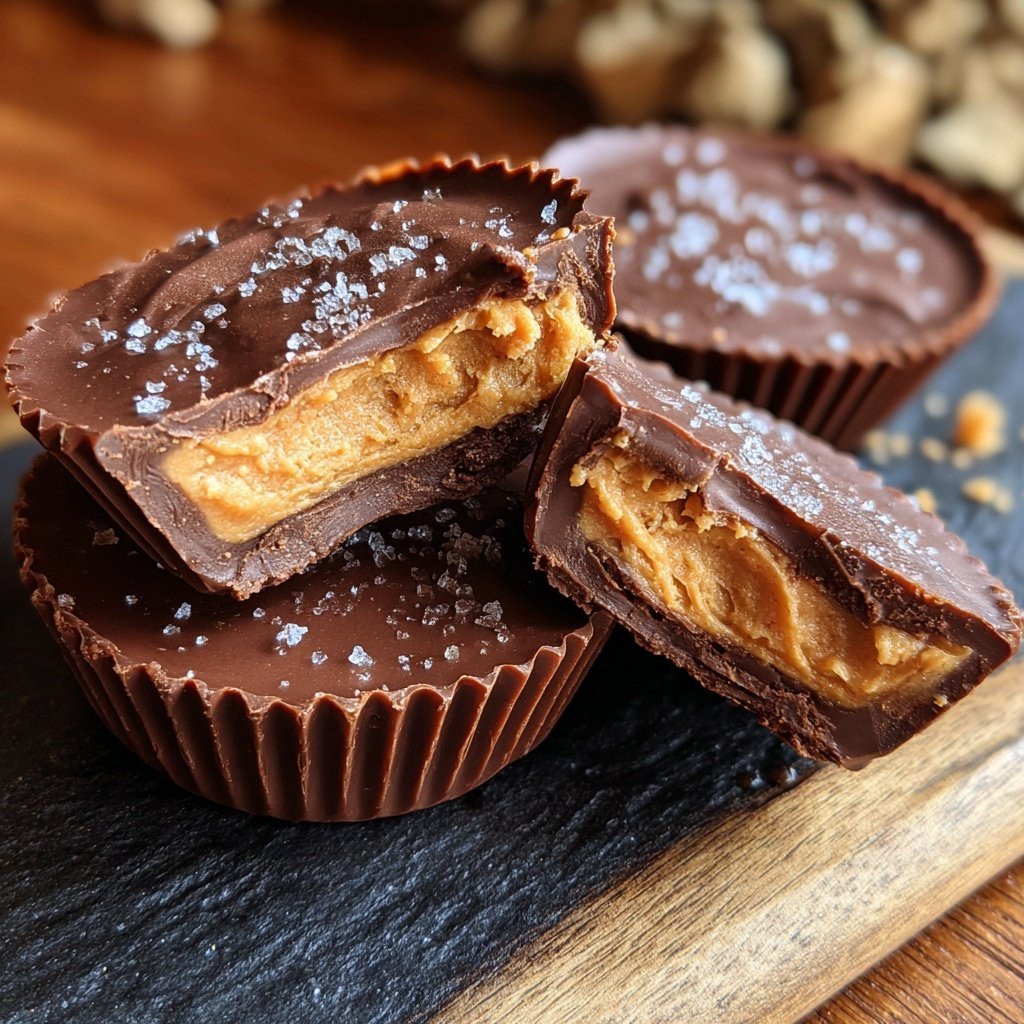
- 1/4 teaspoon sea salt
Enjoy crafting these delightful treats!
Instructions
Follow these steps to make your own Reese's Cups at home:
Prepare the Peanut Butter Mixture
In a mixing bowl, combine the creamy peanut butter, powdered sugar, and salt. Mix until the ingredients are well combined and smooth.
Melt the Chocolate
In a microwave-safe bowl, combine the milk chocolate chips with the coconut oil. Heat in the microwave in 30-second intervals, stirring in between, until fully melted and smooth.
Assemble the Cups
Using cupcake liners in a muffin tin, pour a small amount of melted chocolate into the bottom of each liner to form a base. Let it set for about 10 minutes in the refrigerator.
Add the Peanut Butter Filling
Scoop a spoonful of the peanut butter mixture onto the chocolate base, ensuring it's even. Pour more melted chocolate on top to cover the filling entirely.
Chill to Set
Place the assembled cups back in the refrigerator for another 15 minutes or until the chocolate is completely set.
Serve or Gift
Once set, carefully peel off the cupcake liners and enjoy your homemade Reese’s Cups! You can also package them as gifts.
Enjoy your delicious creations!
Pro Tips
- Consider using dark chocolate for a richer flavor or adding a sprinkle of sea salt on top for an extra taste dimension. You can also customize the filling with crushed nuts or other mix-ins for variety.
Serving Suggestions
These homemade Reese's Cups can be served directly as a delightful dessert or snack, perfect for sharing at gatherings. You might also consider drizzling some extra melted chocolate over the tops for added elegance. Additionally, to enhance the overall flavor experience, serving them alongside a scoop of vanilla ice cream or a dollop of whipped cream can elevate the dessert to a whole new level. The contrasting textures and temperatures make for a delicious combination that’s sure to impress.
If you’re planning to offer these as gifts, try placing them in decorative boxes or wrapping them in clear cellophane tied with a ribbon. Including a label with the ingredients is thoughtful for anyone with dietary restrictions. You could even create a variety pack by adding different flavor variations, such as adding crushed pretzels for saltiness or incorporating a little heat with cayenne pepper for a surprising kick.
Storage and Freezing Tips
To store your homemade Reese’s Cups, keep them in an airtight container. They can last up to a week at room temperature; however, if you live in a warm climate, refrigeration may be necessary to prevent melting. When storing in the fridge, they can last for two weeks, maintaining their flavor and texture. If you find you can't eat them all at once, consider freezing some. Just ensure they are well wrapped to prevent freezer burn and can last for up to three months when properly stored.
When you're ready to enjoy your frozen Reese’s Cups, simply take them out of the freezer and let them sit at room temperature for about 10–15 minutes before consuming. This allows them to soften slightly and regain their creamy texture without getting too melty. Be cautious about trying to microwave them directly from the freezer, as uneven heating can cause the chocolate to lose its smoothness.
Questions About Recipes
→ Can I use nut butter instead of peanut butter?
Yes! Almond butter or cashew butter can be great alternatives.
→ How do I store the Reese's Cups?
Store them in an airtight container in the refrigerator to keep them fresh.
→ Can I freeze these cups?
Absolutely! They freeze well and can last for up to 3 months when stored properly.
→ What if I’m allergic to nuts?
You can use seed butter like sunflower seed butter as a nut-free alternative.
Homemade Reese’s Cups Classic
Created by: Talia Preston
Recipe Type: Sweet Kitchen Classics
Skill Level: Beginner
Final Quantity: 12 cups
What You'll Need
Ingredients for Homemade Reese's Cups
- 1 cup creamy peanut butter
- 1/2 cup powdered sugar
- 2 cups milk chocolate chips
- 1 tablespoon coconut oil
- 1/4 teaspoon sea salt
How-To Steps
In a mixing bowl, combine the creamy peanut butter, powdered sugar, and salt. Mix until the ingredients are well combined and smooth.
In a microwave-safe bowl, combine the milk chocolate chips with the coconut oil. Heat in the microwave in 30-second intervals, stirring in between, until fully melted and smooth.
Using cupcake liners in a muffin tin, pour a small amount of melted chocolate into the bottom of each liner to form a base. Let it set for about 10 minutes in the refrigerator.
Scoop a spoonful of the peanut butter mixture onto the chocolate base, ensuring it's even. Pour more melted chocolate on top to cover the filling entirely.
Place the assembled cups back in the refrigerator for another 15 minutes or until the chocolate is completely set.
Once set, carefully peel off the cupcake liners and enjoy your homemade Reese’s Cups! You can also package them as gifts.
Extra Tips
- Consider using dark chocolate for a richer flavor or adding a sprinkle of sea salt on top for an extra taste dimension. You can also customize the filling with crushed nuts or other mix-ins for variety.
Nutritional Breakdown (Per Serving)
- Calories: 380 kcal
- Total Fat: 26g
- Saturated Fat: 15g
- Cholesterol: 195mg
- Sodium: 85mg
- Total Carbohydrates: 32g
- Dietary Fiber: 3g
- Sugars: 24g
- Protein: 6g